Home > App Management > Manage Connections for SaaS Applications > Connect an Application for Box
この記事をダウンロードConnect an Application for Box (Private Preview)
The Box service is currently in private preview. If you want to try this service, contact your AvePoint representative for assistance.
To connect an application for Box, complete the following configurations.
Step 1: Prepare an App in Box
Follow the steps below to create an app in Box:
-
Sign in to Box Developer Console using your credentials.
-
In Platform Apps page, click New App to create an app.
-
Enter the name of the app that you want to create, and select Server Auth – JWT in App Type.

-
Click Create App. After you create an App, you will access the application settings page automatically.
-
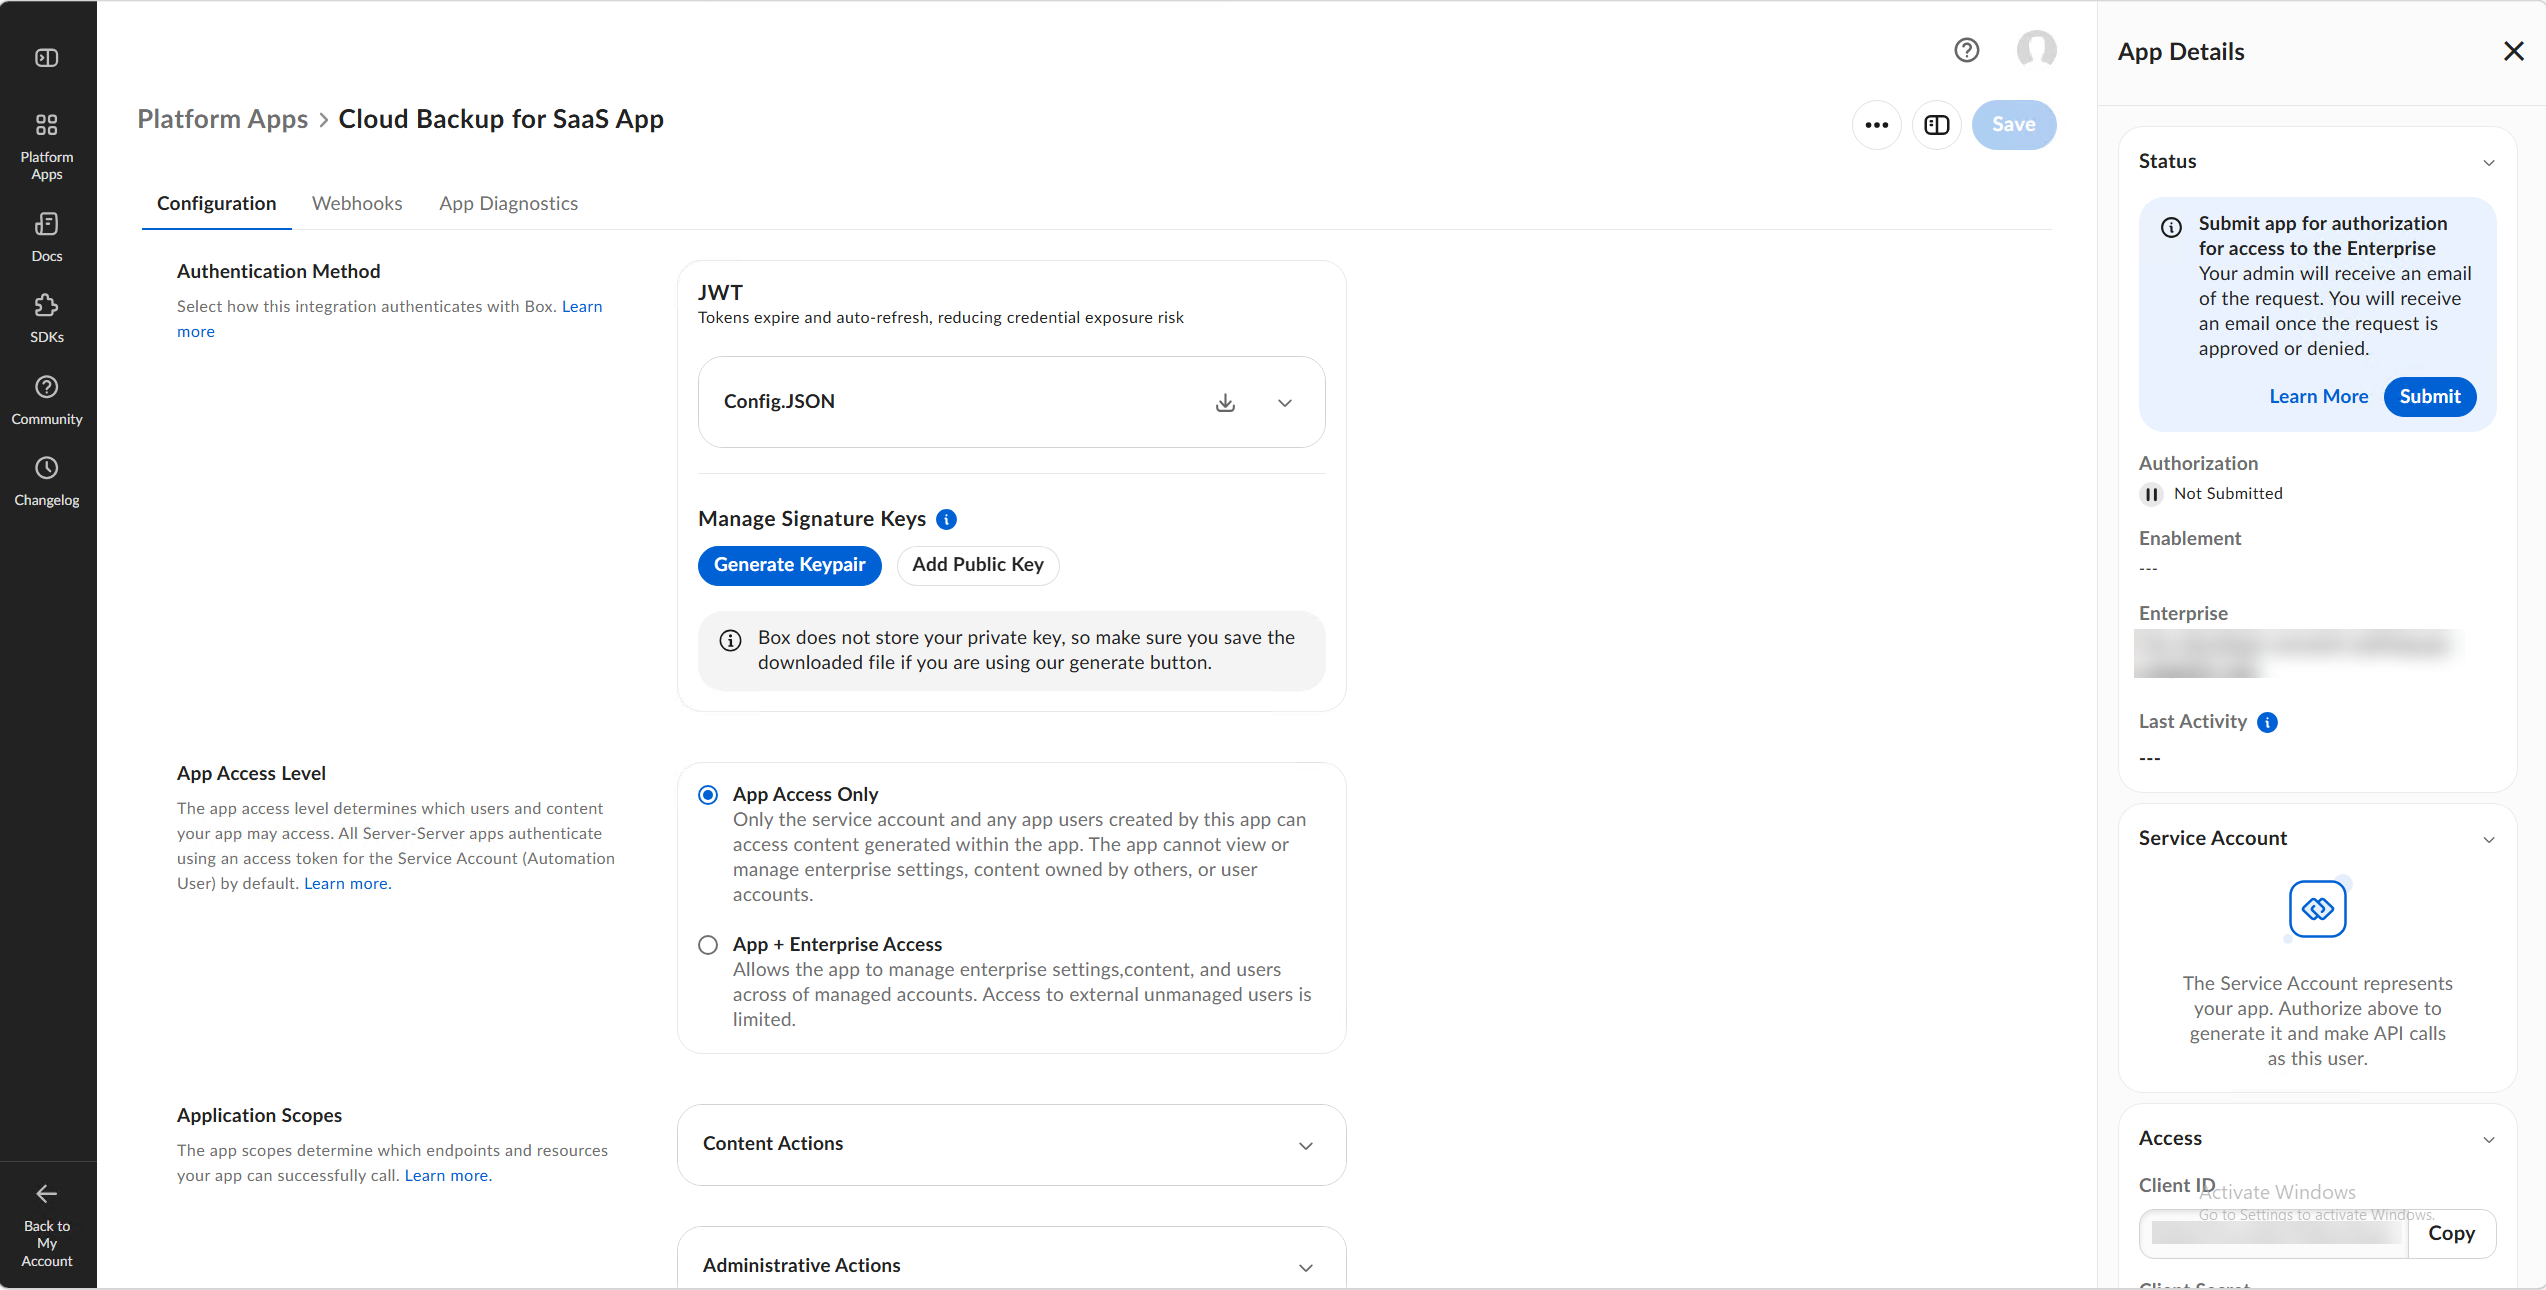
In the App Access Level section, select App + Enterprise Access.
-
In the Application Scopes section, select Write all files and folders stored in Box in Content Actions section and then select Manage users and Manage groups in Administrative Actions section.
-
In the Advanced Features section, select Make API calls using the as-user header and Generate user access tokens.
-
Click Save in the upper-right corner to save your settings.
-
After creating and configuring the app, click Submit in Status section in App Details to submit app for authorization for access to the Enterprise.
NOTEYour admin will receive an email of the request. You will receive an email once the request is approved or denied.
-
After the authorization, navigate to the application settings page, click Generate Keypair in Manage Signature Keys section.
NOTEIf you have not enabled two-factor authentication, a message appears at the top of the page. Complete the following steps to enable two-factor authentication.
-
Click Set Up in the message. You will be directed to the Set Up 2-Step Verification page.
-
Select your preferred verification option and continue to complete the verification settings.
-
Go back to Manage Signature Keys section, click Generate Keypair again.
-
-
After generating the Keypair, download the JSON file.
Step 2: Create an application connection in AvePoint Online Services
Follow the steps below to create an application connection in AvePoint Online Services:
-
In AvePoint Online Services, navigate to Management > App management > Application connection, and then click Create on the action bar.
-
In the Create application connection panel, complete the following settings:
-
Profile name – Enter a name for your connection profile.
-
Description – Enter a description for the connection for future reference. This field is optional.
-
Select application – Select Box from the drop-down list.
-
Select service - Select Cloud Backup for SaaS Applications from the drop-down list.
-
Authentication type - Select Server from the drop-down list.
-
JSON file (.json) - Click Browse to upload the JSON file of the app.
-
-
Click Save.
Once you have created the connection profile, it will appear on the Management > App management > Application connection tab. Your application will now be connected. If needed, you can select a connection profile to Edit or Delete it.